
Shed Wall Replacement On My Own With 3D Printed Jigs

Replacing the warped shiplap on my 25-year-old summerhouse presented a classic solo DIY problem: juggling floppy 3.6m featheredge boards single-handed.
Enter 3D printing to save the day—and my sanity.
We have a 25-year-old summerhouse in our garden. It's 12ft/3.6m(ish) square and has seen life as a home office, dumping ground and, more recently, a home for garden tools.
Overall, and considering its age, it's in pretty good nick. We probably haven't treated it with preserver as often as we should; the front decking started to fall apart a couple of years ago (which was replaced), and the roof sags a bit in the middle (a somewhat 'optimistic' design by the original shed builders). Apart from that, it's sound and well worth saving if more serious problems become apparent.
The biggest problem—and one that's become more extreme over the past couple of years—is cupping of the boards on the rear wall. It's directly south-facing, so it gets the brunt of the daytime sun, which has probably caused shrinkage. The boards became so cupped that gaps were forming between them, and driving rain coming from the south started to become an issue.
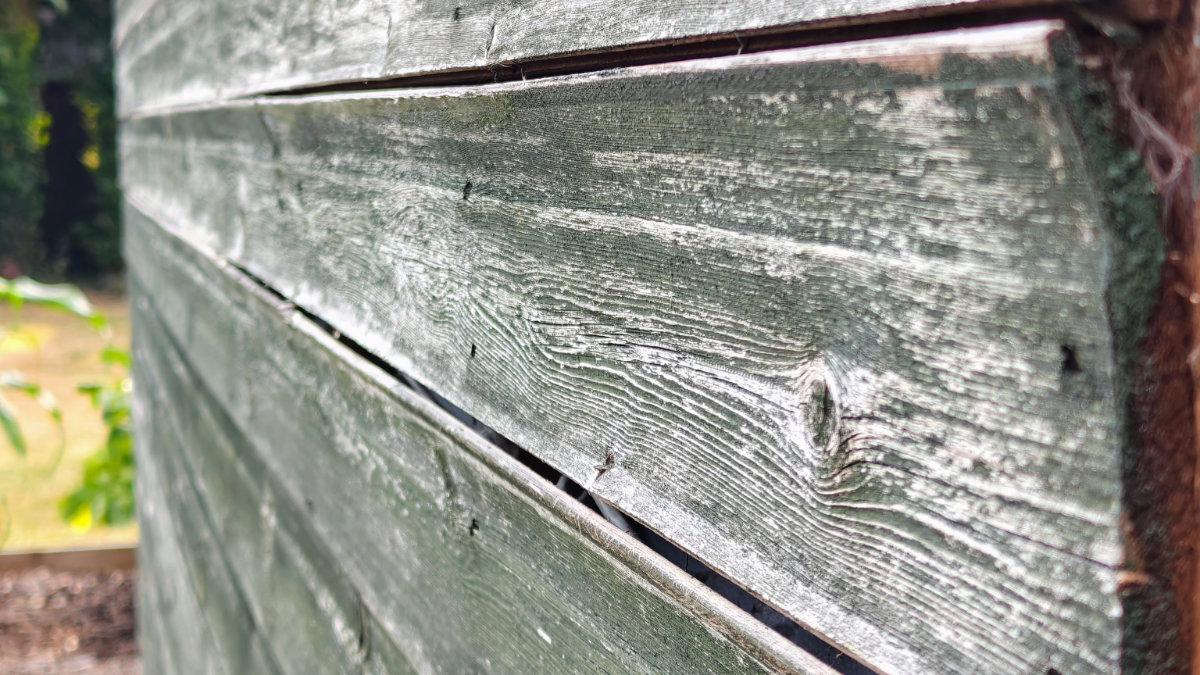
Replacing all the boards on an entire wall is not an insignificant job, and I had weighed up various options such as Onduline sheets or a like-for-like replacement with shiplap (I hate shiplap). In the end, I decided to go with featheredge boards that overlap. Mainly because, if nailed in a specific way and individual boards start to split or cup, they can be 'easily' replaced.
My decision presented a couple of 'problems'.
- The existing shiplap boards were actually 3.625 metres in length, whereas everyone now supplies 'properly metric' 3.6-metre lengths. Not too much of a problem, as the ends would still be over the corner studs, but it did mean the boards had to be stepped inwards by 12.5mm at each end.
- I would be doing this job on my own, so juggling 3.6m of floppy wood, getting that instep accurate, and getting the board overlap spot-on would be a pain in the arse (read that as fucking difficult)!
3D Printing To The Rescue!
When you have a fleet of 3D printers (or just one) and can design stuff yourself, this sort of problem is not really a problem—it's just something that requires a solution that can be 'easily' solved.
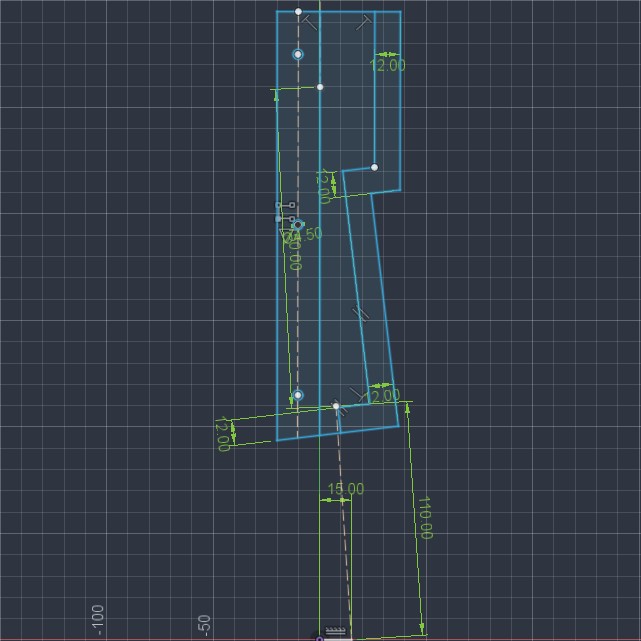
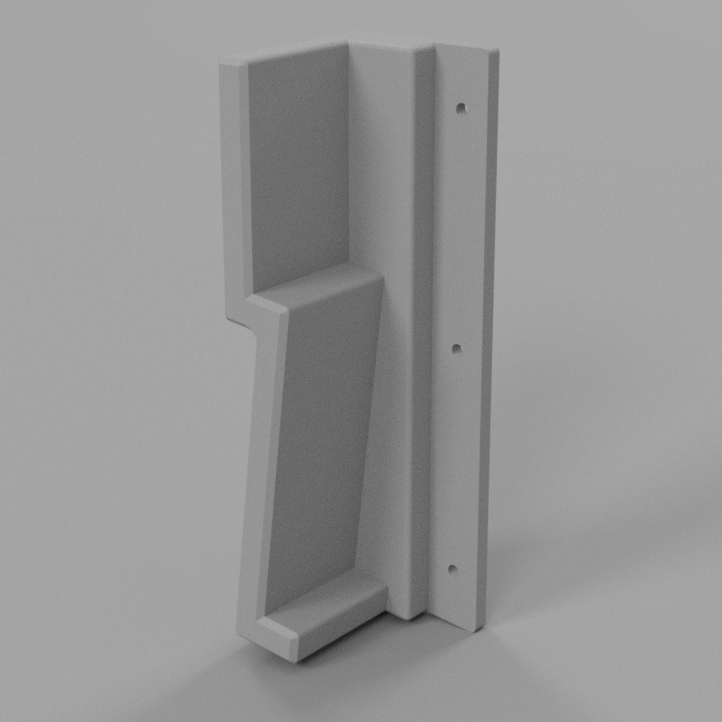
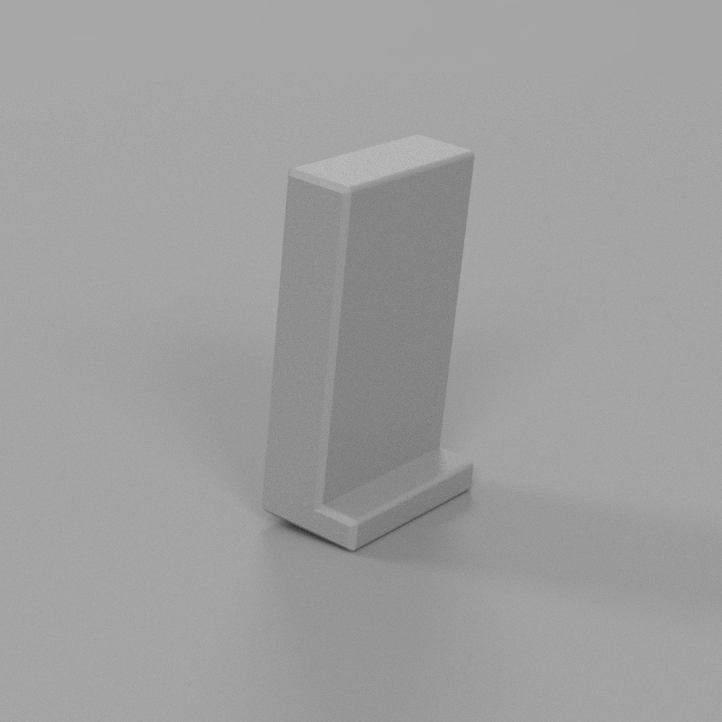
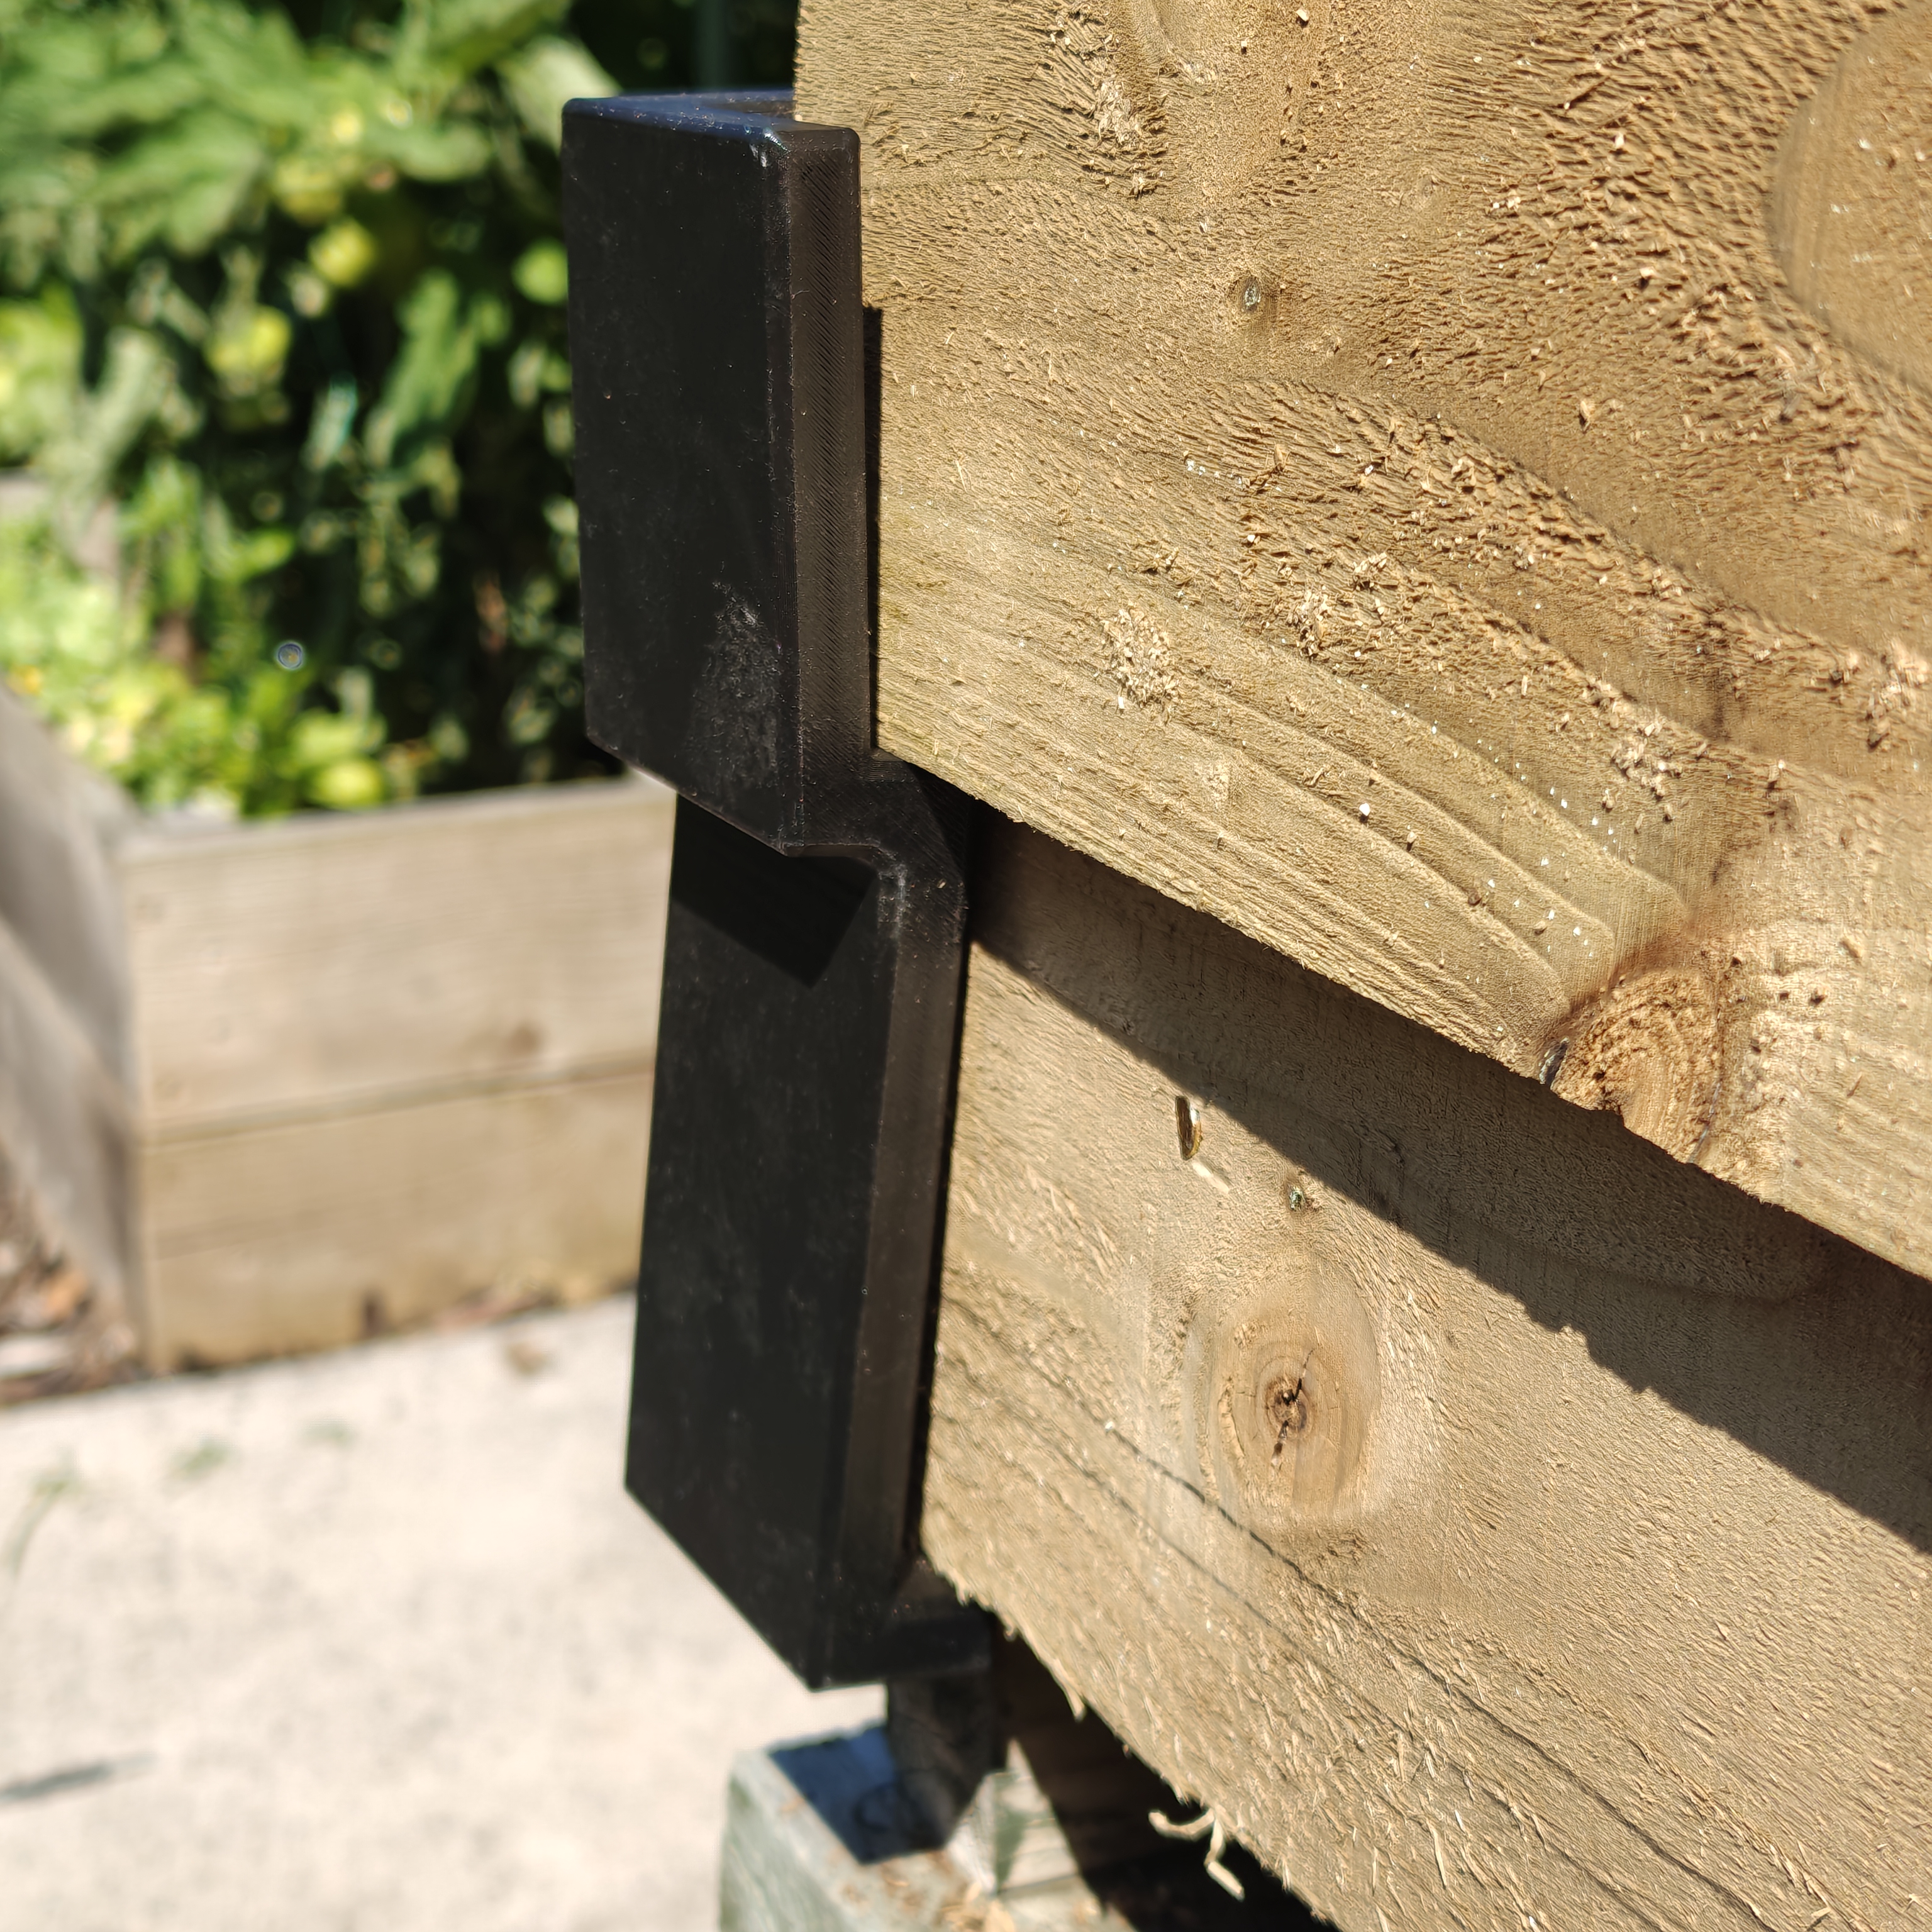
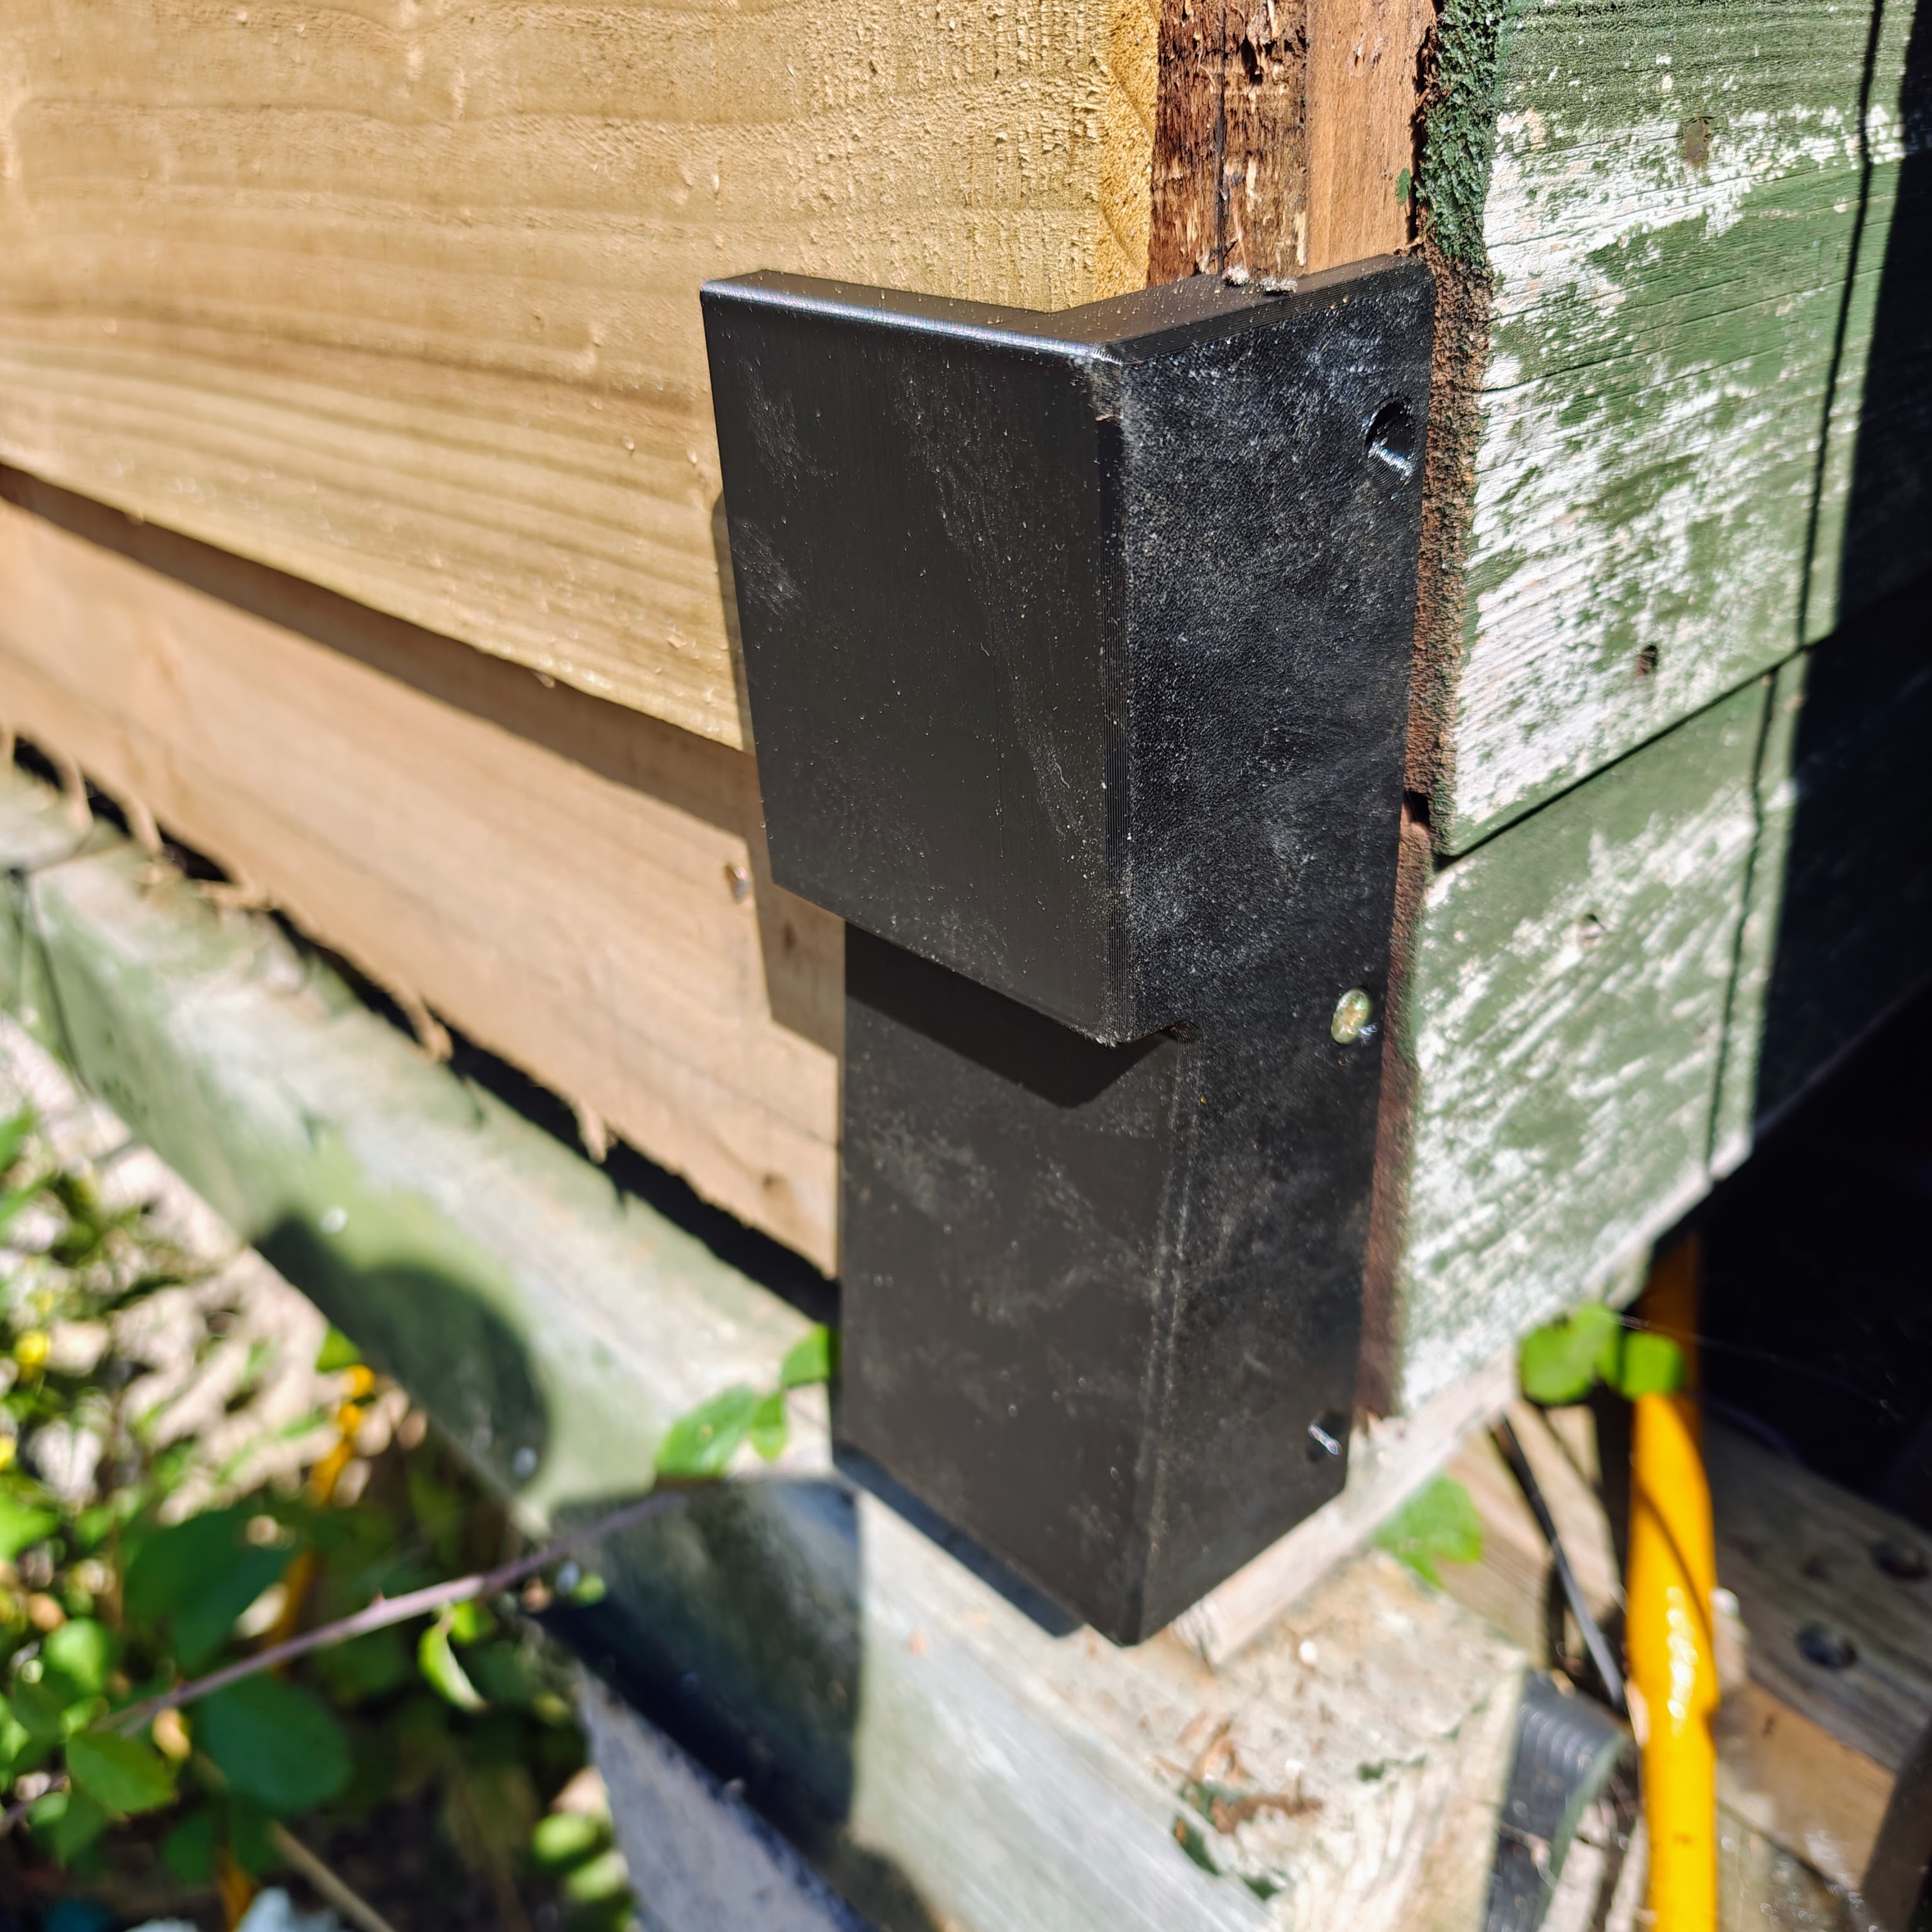
So, after the featheredge boards arrived, I took some averaged measurements (the nature of the product means cutting accuracy isn't exactly stellar), sparked up Autodesk Fusion, and sketched out the positioning of 3 overlapping boards using construction lines. I was then able to use that sketch to define a constrained outline of surfaces to be extruded for a spacing jig that would not only position the boards with the correct instep, but also hold the working one in place while being nailed in position. On top of that, I used the same sketch to produce a jig for checking the spacing along the length of the boards. This bit would have been easy to produce from scraps of wood, but while I was at it, why not?
Printing & Material
Although printing these out of standard PLA would have been perfectly OK, I was going to be replacing the back of the shed on one of the hottest weekends of the summer (the July 2026 heatwave), so I elected to use PETG. There was an old(ish) roll of black on the shelf that really needed using up.
The prints were produced on a BambuLab P1P. Print settings were 3 walls, 5 top/bottom layers, and 0.24mm layer height. I also put cylindrical modifiers around the screw holes in OrcaSlicer and set those areas to have 10 walls—the screw holes would have to be reused around 20 times, so they needed to be solid, especially as I would be using a DeWalt impact driver to screw them to the corner studs!
Results
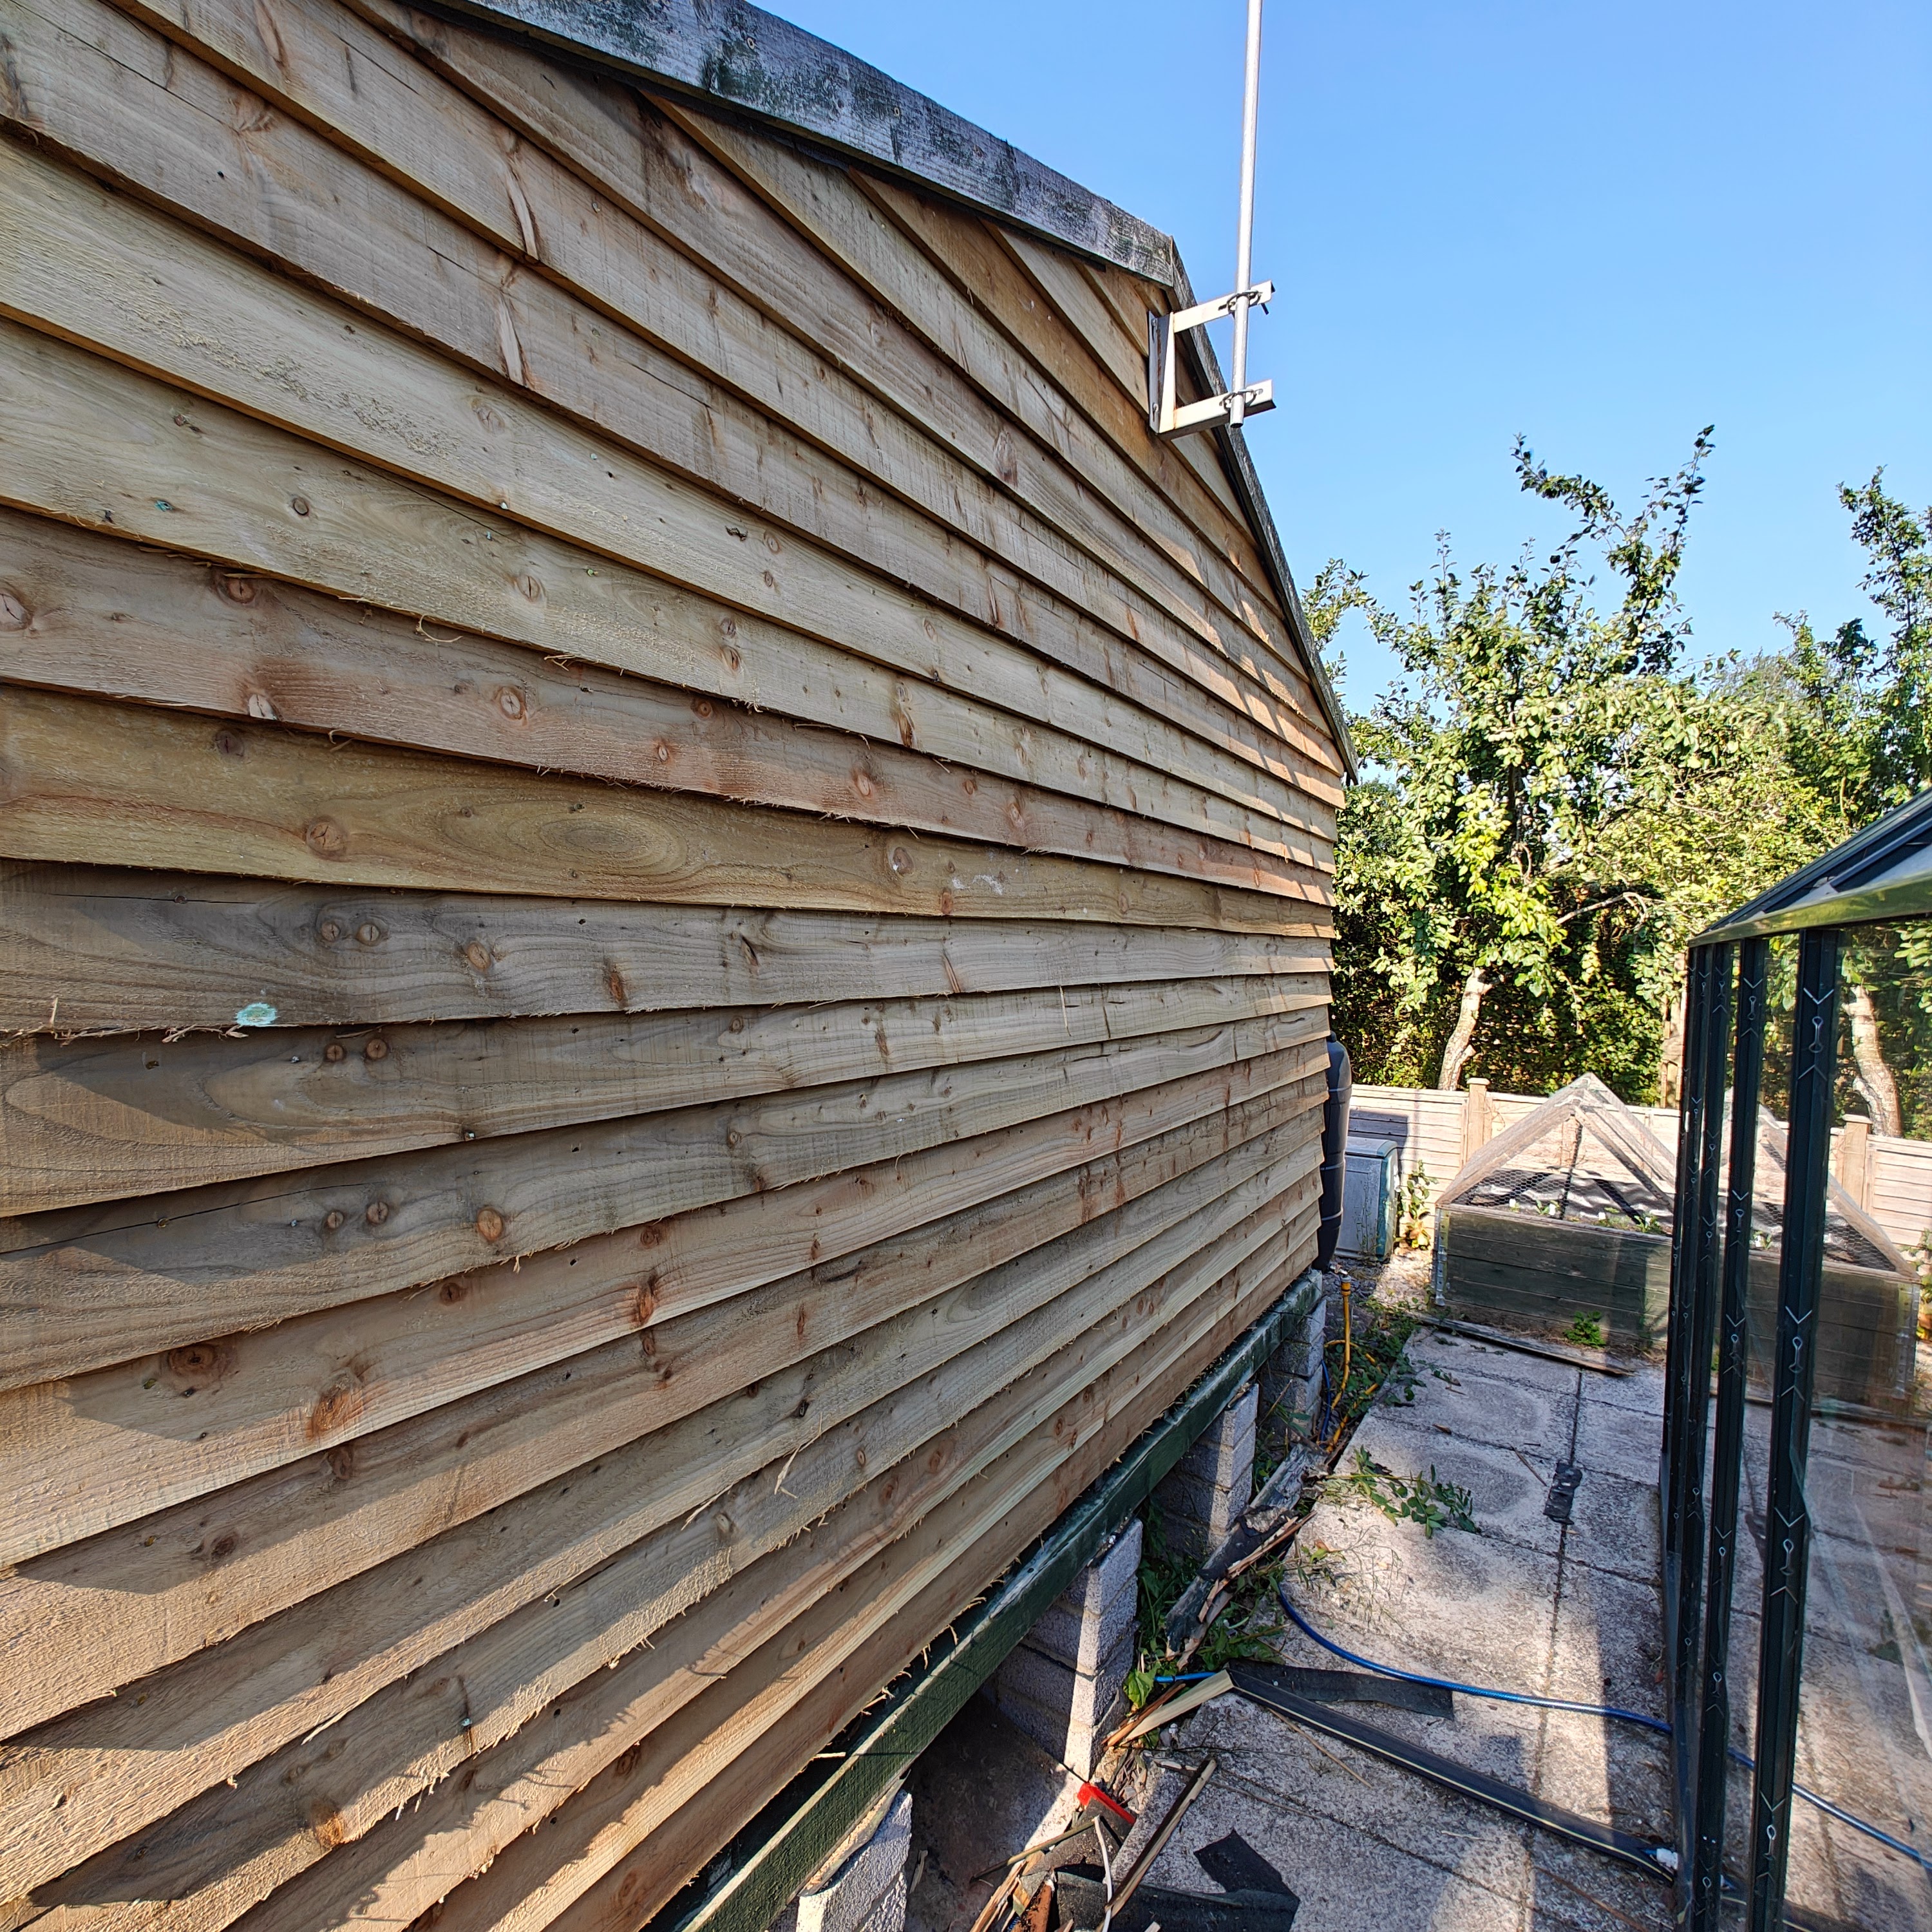
These jigs worked perfectly, and I was able to replace the entire back of the shed on one of the hottest weekends of the year, without any assistance, in around 10 hours (plenty of fluid breaks were taken)!
Method For Cutting The Apex Boards
I was hoping that I would have been able to use the old shiplap boards as a pattern for cutting the angles on the apex boards, but that wasn't possible as they all split into random bits of firewood during removal.
Instead, I laid out and screwed (in places that would eventually be hidden) the required number of boards onto some random offcuts, spacing them out with the 'centre jig'. I then took an apex measurement and marked lines from the start point on each side to get the right angle. I was then able to cut the entire thing in one go using my Evolution Track Saw (you could obviously do this with a straightedge and a normal circular saw).
I couldn't use my side jigs for the apex boards, so I just used the one I had designed for checking the spacing to draw lines at the position of each stud. As the angles were pretty much spot-on, the boards really found their own position once the centre was spaced correctly.
Conclusion
It normally takes 2 people to do a job like this, and I really didn't want my wife standing out in the sun for hours. Could I have made these jigs out of wood? Yes, of course I could, but the addition of having to inset the boards made the jigs quite a bit more complicated. Also, most spacing jigs you would make for featheredge boarding are just that—for spacing. They don't actually hold the boards in place when you are fixing them, and they still rely on 2 people.
At the end of the day, 3D printing made this job easy (despite the heat), and I didn't lose the will to live during the process!


Comments